Finally, three weeks ago I discovered a blog post (on the day it was written) revealing that a company called Pixel Qi was selling sunlight reflective screens through MakerShed, a DIY computer warehouse in California. After a few hours researching how to do the installation, I bought one.
Here's a little photo blog showing how to do the installation.
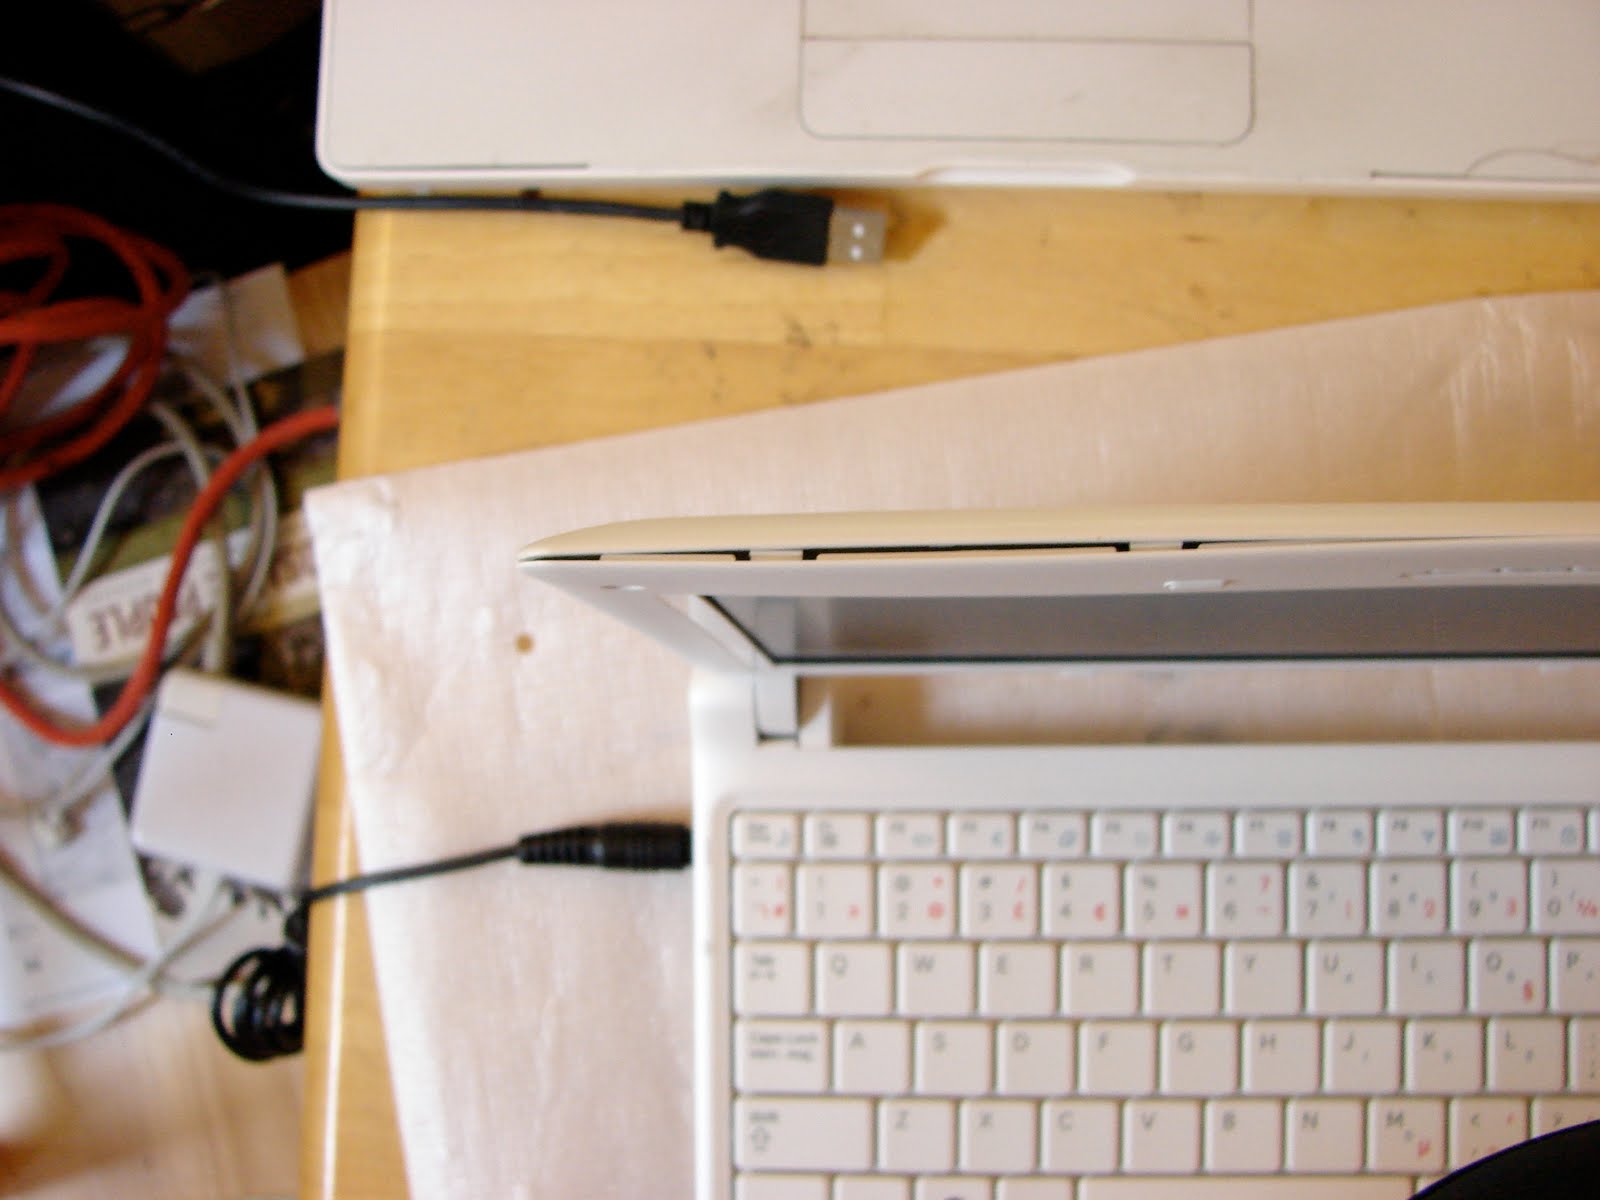
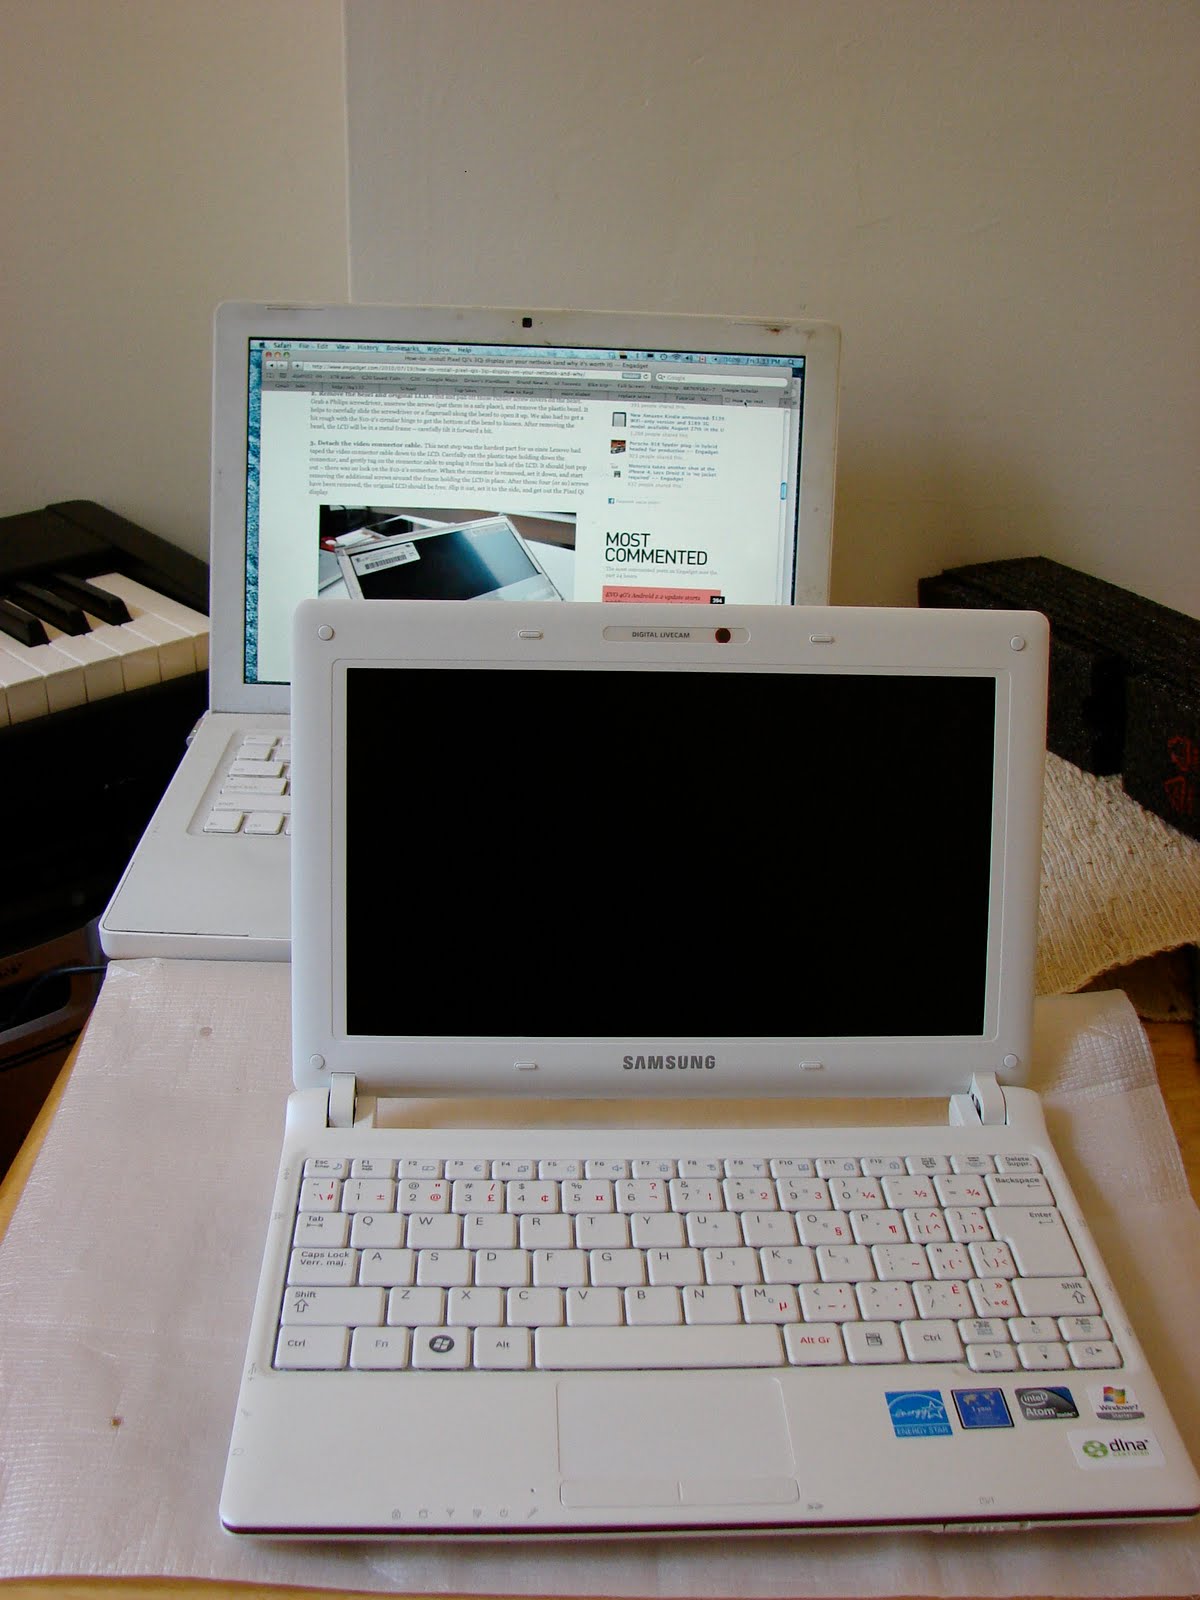 Set up the netbook on the soft packaging material to prevent scratching the seashell exterior finish. I loaded the installation instructions for a similar netbook on my Mac for easy reference. It's good to read a few different accounts of how to do this before attempting it yourself. Little tips help you avoid silly errors that you'd never think to watch out for before it's too late.
Make sure you have all the tools you need, and a suitable workspace before starting the install. It sucks to get halfway through and realize you're missing something you need to get to the next step. Here I have a clean cream cheese container for holding small parts (specifically screws, and screw covers which are held on by adhesive that needs to be kept dust-free. ) The student and library cards come in handy in for gently separating the bezel from the screen.


Careful not to crack the bezel when easing the card in and separating the bezel from the back cover. I used my fingernail to create a little gap, wide enough to slide in the card. Then used the wide surface area of the card to distribute pressure over a wider portion of the bezel to avoid cracking it.
 You can see the clips through the space the cards create. Gently pull the two sides apart and the clips give way (eventually... though the ones on the bottom were stickier and needed so much force I was worried about breaking something. Be careful not to let your hand fly off after the clips give way. You can avoid this by bracing your arm against another part of the netbook, or the table.)
 Once you have the bezel off, it looks like this, and you can set to work on the screws. Don't do what I did, and forget which screws came from where. There are short ones and long ones, which need to back in the holes they came from.

Then lift the normal screen away from the back cover, letting the tape peel off the back of the screen. Sometimes you need to pull it. Be careful not to pull it in a way the strains the webcam connector.
 Remove the tape covering the pin connector.
 You can do all this without removing more than the single piece of tape that covers the pin connector. There are no clips on the pin connector, so just gently ease it out.
Connect the new screen. Be careful to not to scratch or drop a screw driver on the screen.
Connect the power cord (which should have been disconnected right at the start, unless you like that tingly sensation of being a low voltage ground and the whiff of burning electronics.)
Now turn it on and hopefully you'll see something like this. Even better if you've hackintoshed your netbook and see an OS X desktop.
I'm such a geek.
 Then reverse the process and you're laughing!
7 comments:
Thx for the interesting tutorial.
One question left : after remounting everything, does the pixel qi display fit perfectly?
Genial post and this post helped me alot in my college assignement. Gratefulness you as your information.
@Anonymous. Yep, everything fits perfectly. Even a Samsung technician wouldn't know the screen had been replaced.
How long does the battery last after the new Pixel Qi screen was installed?
Hi, very interesting post, greetings from Greece!
Thanks for your info. Based on it, I have today done the same with a Sanmung N150P and Pixel QI screen. A damn sight more fiddly than expected, but it all seems to work now. Your videos don't show the horror of fitting it back together though!! My only problem is that it seems locked into the greyscale sunlight mode. The Fn-F5 keys have no affect, even though it does say so on screen. So I can't get colour at all. Any ideas for device drivers etc?? I've even tried booting from external WinXP media - which works fine, but still no colour!!
Thanks for writing this up, my conversion worked just great!
Post a Comment